How To Add Lighting To Your Chicken Coop Without Electricity
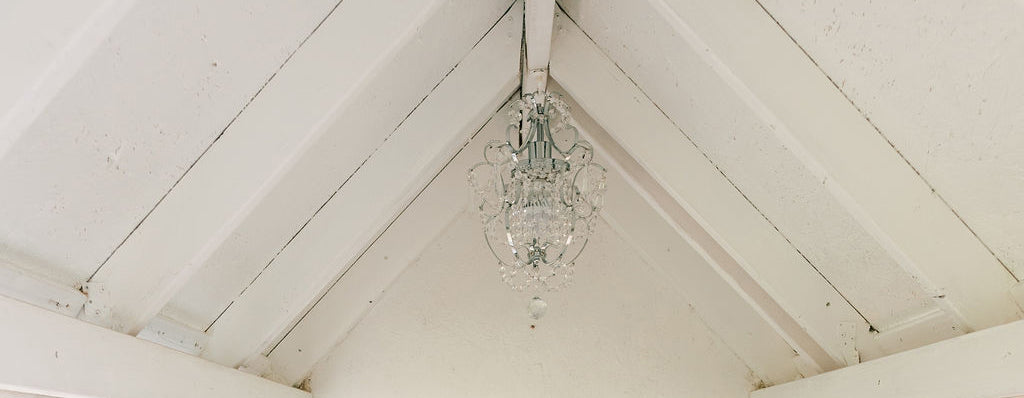
A chandelier in a chicken coop? Yes, please!
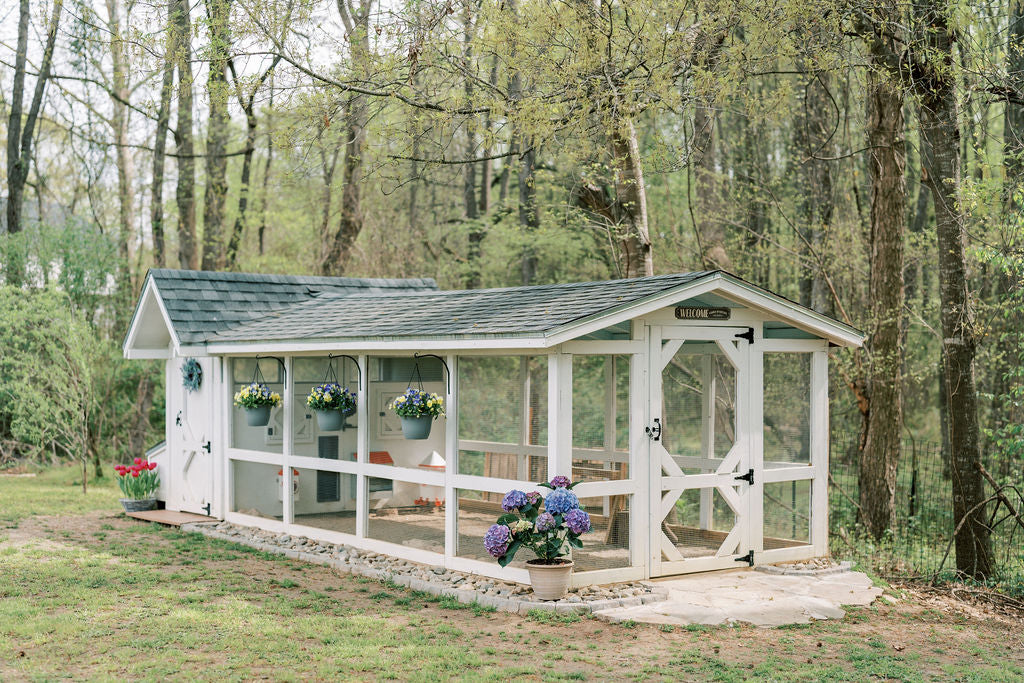
Who says that chicken coops have to be drab and boring? As an artist and jewelry designer, I know the value of adding a little bit of beauty and flair to everything around me, and my chicken coop was no exception. When building my coop (you can read more about that here), the phrase "it's just a chicken coop" was said quite often. But why settle for mediocrity when we can have beauty in everything around us?

Problem Solved
One thing I knew I wanted in my chicken coop was extra lighting. But with no running power, and the idea of wiring solar panels seeming too expensive and time-consuming, I had to think outside of the box. I began researching other options and eventually stumbled upon the perfect solution: a battery-powered LED bulb.
Choosing A Fixture
To make my chicken coop extra special, I decided to add a mini chandelier that I found on Facebook Marketplace for free. After cutting off the wires from the chandelier, I screwed in the LED lightbulb into the fixture and hung the chandelier securely over the roosting bars in the coop.

Adding the Light Source
This LED lightbulb can be screwed into any light fixture with the same threading as a traditional lightbulb. So, whether chandeliers are your vibe or not, any light fixture that holds a standard bulb can work.

But the best part of my new lighting fixture? The LED light has an internal battery AND a remote, which means I didn't have to figure out how to wire a switch to the wall. Instead, I simply taped some velcro to the back of the remote and attached it to the wall. Now, whenever I need to turn on the light, I just hit the little power button and let there be light!
Recharging The Bulb
The battery life of the LED bulb seems to last quite a while, and when it does eventually run out of power, I simply bring it into the house and screw it into a light fixture to recharge it. Within a few hours, it's fully charged and ready to be used again in the chicken coop.
Daylight vs Warm Light
To add even more customization, the LED lightbulb comes in two different colors: daylight and warm light. I chose the daylight bulb, which provides a bright and clear light, but I plan on buying the warm light bulb next to see if it's a little easier on the eyes.
Just because it's "just a chicken coop" doesn't mean it has to be dull and uninteresting. By thinking outside of the box and using affordable and accessible resources, you can make even the most mundane objects beautiful and unique. So, why not add a chandelier to your chicken coop?

Here are step by step instructions on how to add lighting to your own chicken coop!
Materials:
- Mini chandelier (can be found on online marketplaces or thrift stores)
- Battery-powered LED bulb
- Secure hook or mounting bracket
- Velcro strips
Instructions:
- Find a mini chandelier: Look for a small, decorative chandelier on online marketplaces or at thrift stores. The goal is to find a chandelier that's affordable and small enough to fit inside your chicken coop.
- Purchase a battery-powered LED bulb: Look for an LED bulb that can be screwed into a light fixture and has a battery inside. You can find these bulbs at most hardware stores or online. Make sure the bulb you choose fits the type of fixture you have.
- Cut the wires: Once you have your mini chandelier and LED bulb, cut the wires off the chandelier. You won't need them since the chandelier will serve as a decorative holder for the bulb.
- Screw in the LED bulb: Take the LED bulb and screw it into the chandelier. Make sure it's secure.
- Hang the chandelier: Find a secure hook or mounting bracket to hang the chandelier in your chicken coop. Make sure it's high enough so the chickens can't reach it, but low enough so you can easily turn it on and off.
- Attach the velcro: Attach a velcro strip to the back of the remote control for the LED bulb and another velcro strip to the wall of your chicken coop where you want to mount the remote. This will make it easy to turn the light on and off.
- Test the light: Test the light to make sure it's working properly. If everything is in working order, you should have a beautiful, functional chandelier in your chicken coop that adds a touch of elegance and light.
- Charge the bulb: The battery life on the LED bulb should last quite a while, but when it does run out of power, simply unscrew the bulb and take it into the house to charge it. Once it's fully charged, bring it back out to the coop and screw it back into the chandelier.
- Choose your bulb color: The LED bulb comes in two different colors - daylight and warm light. You can choose the one that best suits your needs and preferences. If you find that the daylight bulb is too bright for your liking, consider purchasing the warm light bulb instead.
Adding a chandelier with battery-powered LED bulbs to your chicken coop is a fun and creative way to add light and a touch of elegance to your coop without the need for running power. With these simple instructions, you can easily create a beautiful lighting fixture that both you and your chickens will love.


